This article is about OAuth2 authentication, if you want to use the simple authentication method, you can read about it in the intro article
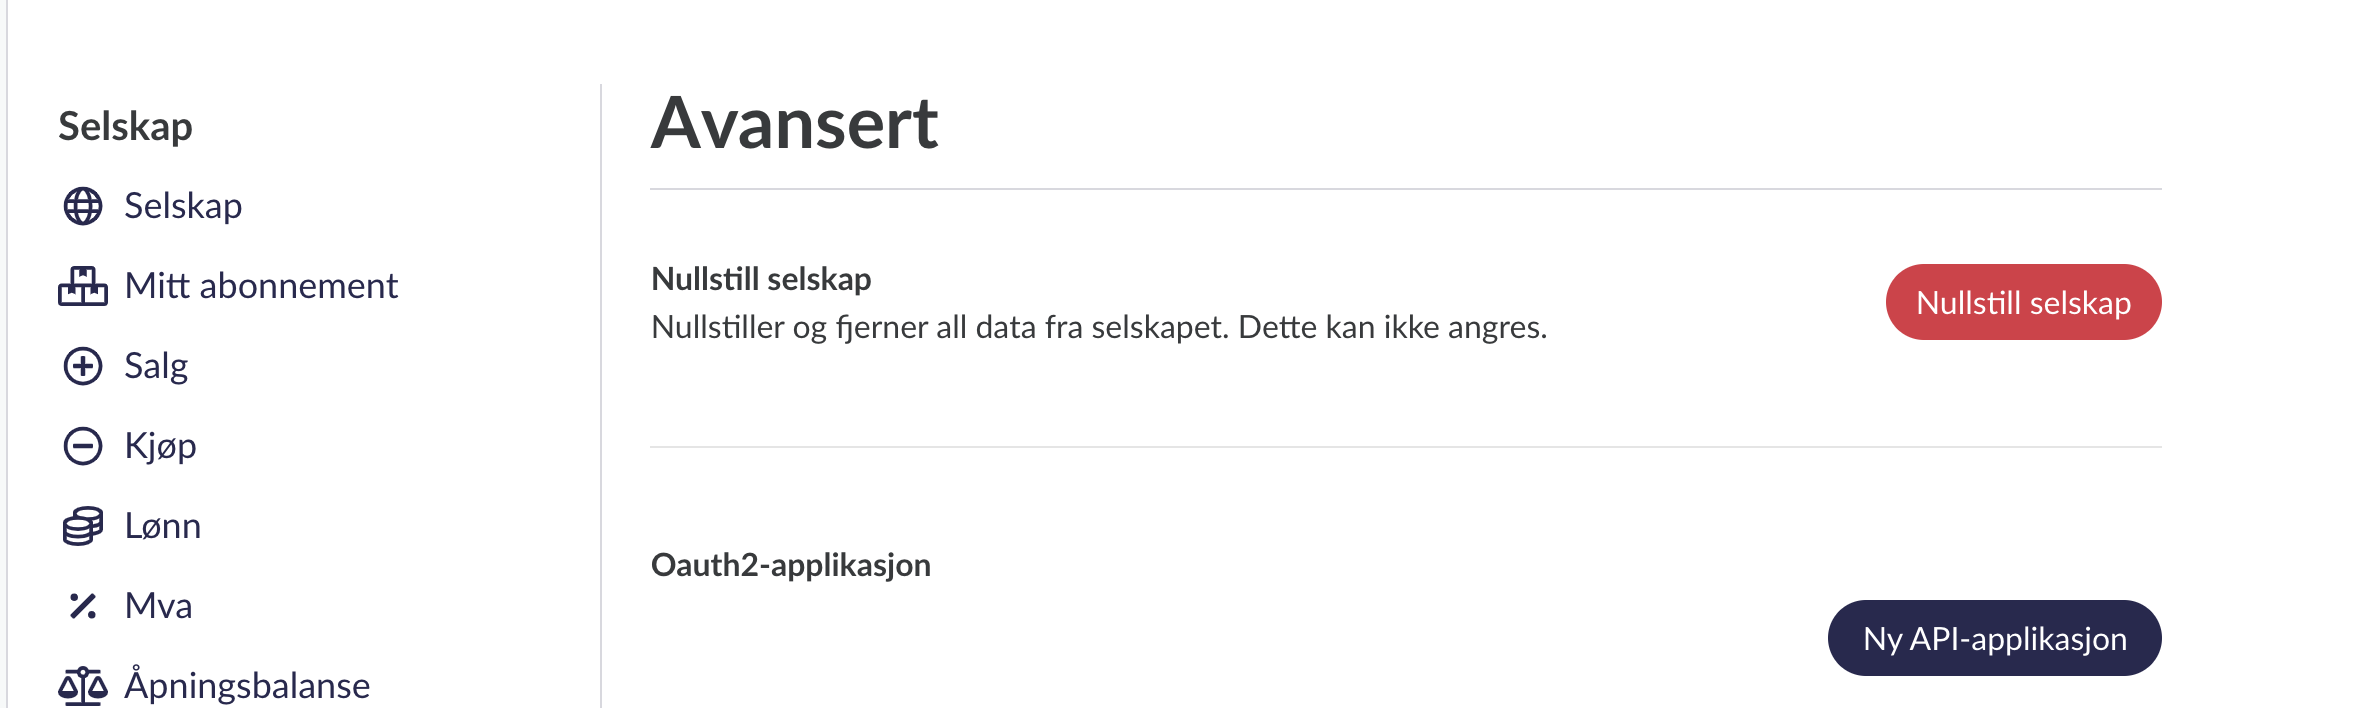
To begin you will need to register an OAuth2 application. Go to “Settings->Advanced” and click
“New API application”
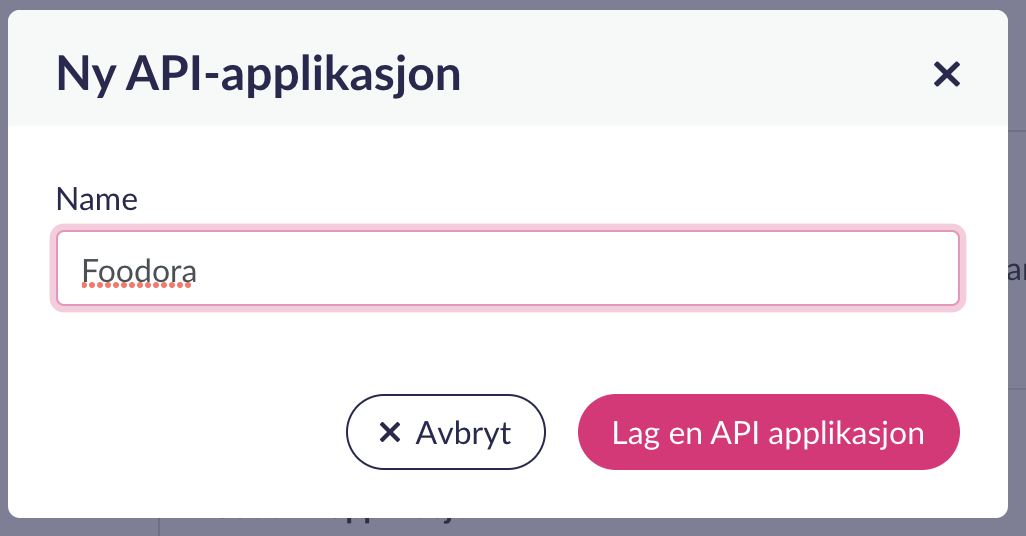
Then select a name for your application. This name will be used when we ask the user if he wants to give your application permission, we suggest that you use your application or company name.
 You will then be given a client id and secret. Make sure you write the secret down, it will only be shown once.
We use Authorization Code flow for server-side authorization. To start the authorization flow, you need
to redirect the user to the following URL:
https://BASE_URL/api/v1/oauth2/authorize?client_id={CLIENT_ID}&response_type=code&scope=accounting&redirect_uri={REDIRECT_URL}
The user will then
The endpoint accepts the following parameters:
client_id – (required)redirect_uri – (required) The URL the user will be redirected to after finishing the authorization flowresponse_type - (required) should always have value code.scope- (required) currently we support only one scope which is accountingorganisation_number - (optional) if this parameter is set we will force the user to authorize for this company only,
even if he has access to multiple companies.locale - (optional) Set the language used during the authorization, if the parameter
is absent then language from the user’s settings will be used. Supported values: nb or enAfter a successful authorization, the user will be redirected back to the redirect_uri you provided in parameters. We will send back the following parameters:
code An authorization code that you will have to exchange for a set of Refresh and Access Tokens.
This code is valid for 10 minutes.scope Contains a scope that you have granted access to.Once you have the Authorization Code, you can exchange it for a set of access and refresh tokens:
curl -X POST \
-H "Accept: application/json" \
-d "code=$AUTHORIZATION_CODE" \
-d "client_id=$CLIENT_ID" \
-d "client_secret=$CLIENT_SECRET" \
-d "grant_type=authorization_code" \
'https://application_url.com/api/v2/oauth2/token'
Response:
{
"access_token":  "{ACCESS_TOKEN}",
"refresh_token": "{REFRESH_TOKEN}",
"token_type":    "bearer",
"expires_in":    3600
}
Once you have an access token you can use it to access the API. Set the header Authorization to be Bearer ACCESS_KEY
and use the API as usual by calling POST to /api/v1/graphql
Here is an example fetching the sales invoices
{ saleInvoices { nodes { id } } }
You can find more information about GraphQL in our Get started guide
When your Access Token is about to expire, you can use the Refresh Token to get a new Access Token:
curl -X POST \
-H "Accept: application/json" \
-d "refresh_token=$REFRESH_TOKEN" \
-d "client_id=$CLIENT_ID" \
-d "client_secret=$CLIENT_SECRET" \
-d "grant_type=refresh_token" \
'https://application_url.com/api/v2/oauth2/token'
Response:
{
"access_token": "{NEW_ACCESS_TOKEN}",
"refresh_token": "{REFRESH_TOKEN}",
"token_type":    "bearer",
"expires_in":    3600
}
By default the refresh token does not expire, and the access token has a 1-hour expiration date.
Enkelt, rimelig og bekymringsfritt regnskap for små bedrifter.
For kun 99,-/måned kan du fakturere dine kunder, holde regnskapet under kontroll, og rapportere det staten skal ha.
Prøv gratis i 30 dagerRelaterte artikler